
Residency Reflections: Hazel Brill
Machine Learning & Unity by Max Dovey
Artist Residency
Hazel Brill is an artist based in London who graduated from the Slade School of Art in 2017, where I first incidentally became captivated in her complacently titled ‘I made a show for you’ (2017). Hazel creates large scale diorama’s to host her videos, characters and narrations that are all projected onto 3d objects. She uses projection mapping to effectively create highly captivating 3d physical environments that the audience can inhabit without the need for any virtual reality goggles.
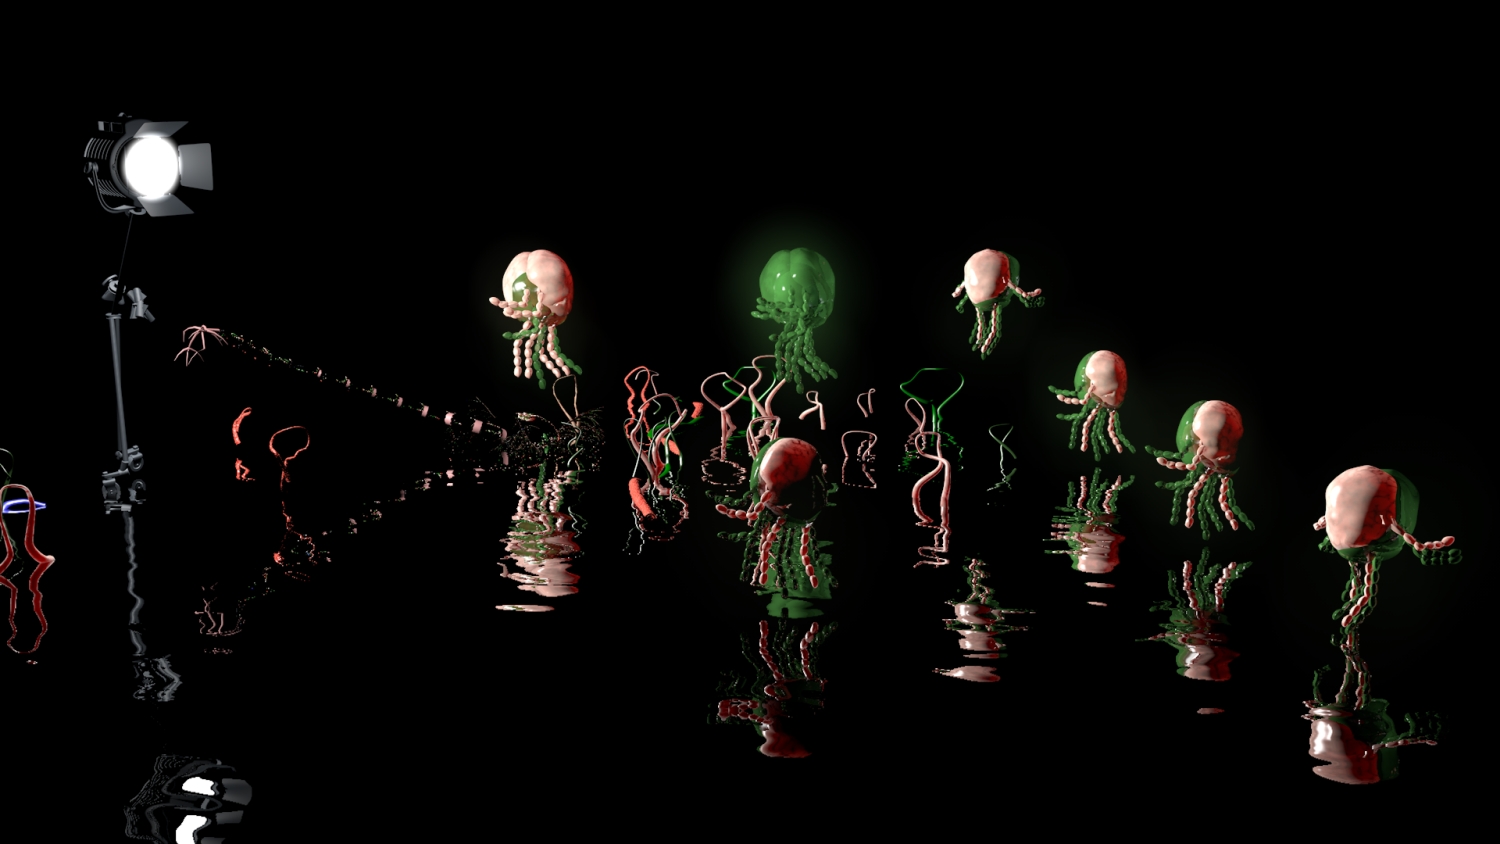
As part of Hazel’s residency she had expressed an interest in how artificial intelligence can be used to automate or generate autonomous agents and characters. In one of our initial conversations we spent some time discussing how robotics, animatronics and neural networks relate to one another and indulging in speculating about how something like MIT’s AlterEgo project actually works (Spoiler – we have no idea). We looked at many ‘performances’ of artificial intelligent systems from animatronics to robotics and neural network interfaces - While fascinated by the detail on some of the latest animatronic models we also had to work within our resources of time and budget. Hazel often created characters or bodies that communicate through sounds in her work and we began to discuss how those bodies could be implanted with some sort of artificial intelligence to behave or act autonomously.
Technical Process
Aim – to create autonomous animations by connecting machine learning models to Unity
software requirements
- python 3.6
- TensorFlow
- Unity
useful resources
Step-by-step guide
Setting up your working environments
1) Install unity according to your specific operating system (linux users are advised to use unityHub as it maintains the latest version)
2) Install the machine learning dependencies
We recommend using anaconda with python 3.6
Alternatively, if you already have your own environment with python 3.6 installed you can skip installing an enconda environment and go straight to installing the dependencies for ml-agents toolkit
using pip3
  install_requires=[
        "mlagents_envs==0.8.2",
        "tensorflow>=1.7,<1.8",
        "Pillow>=4.2.1",
        "matplotlib",
        "numpy>=1.13.3,<=1.14.5",
        "jupyter",
        "pytest>=3.2.2,<4.0.0",
        "docopt",
        "pyyaml",
        "protobuf>=3.6,<3.7",
        "grpcio>=1.11.0,<1.12.0",
        'pypiwin32==223;platform_system=="Windows"',
    ],
3) Virtual Environment
use conda to create a virtual environment to run your ml-agents toolkit from (We created it with)
$ conda create --name tensor python=3.6 pip
This is located in Documents/unity/ml-agents-master/
$ conda activate tensor
to close we then type
$ conda deactivate
4) Install the ML-Agent toolkit
$ git clone https://github.com/Unity-Technologies/ml-agents.git
Training Models with Unity & ML-Agents
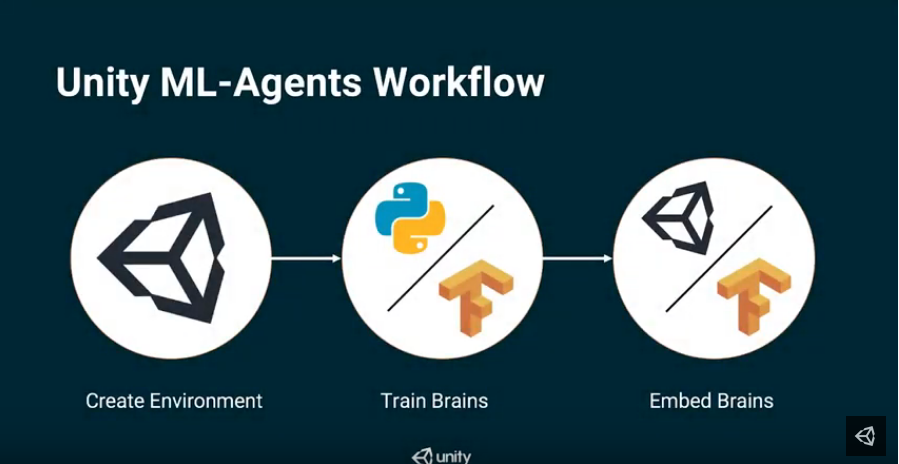
These terms won’t mean much until you start working but its good to introduce the ‘abstract’ concepts of how you are going to interface between TensorFlow > python > Unity.
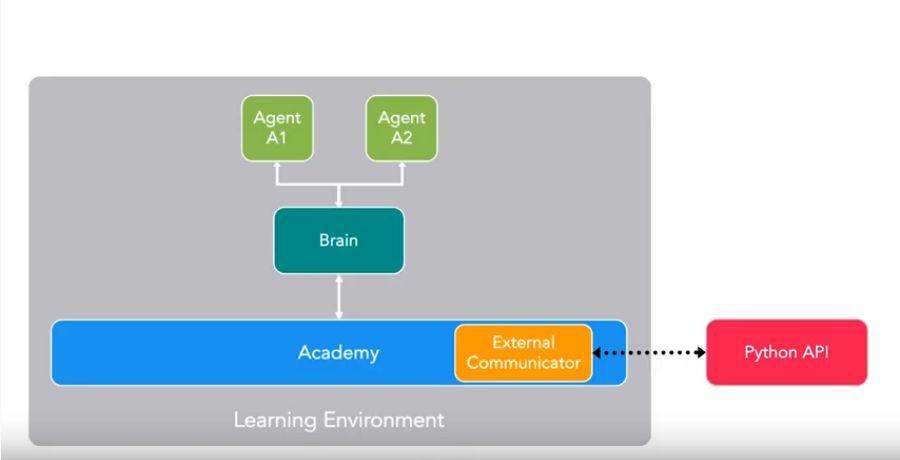
Three important things to remember:
- You need an academy to run the simulation
- Within the the academy you need a brain object
- Inside the brain you need to inject a (pre-trained) model
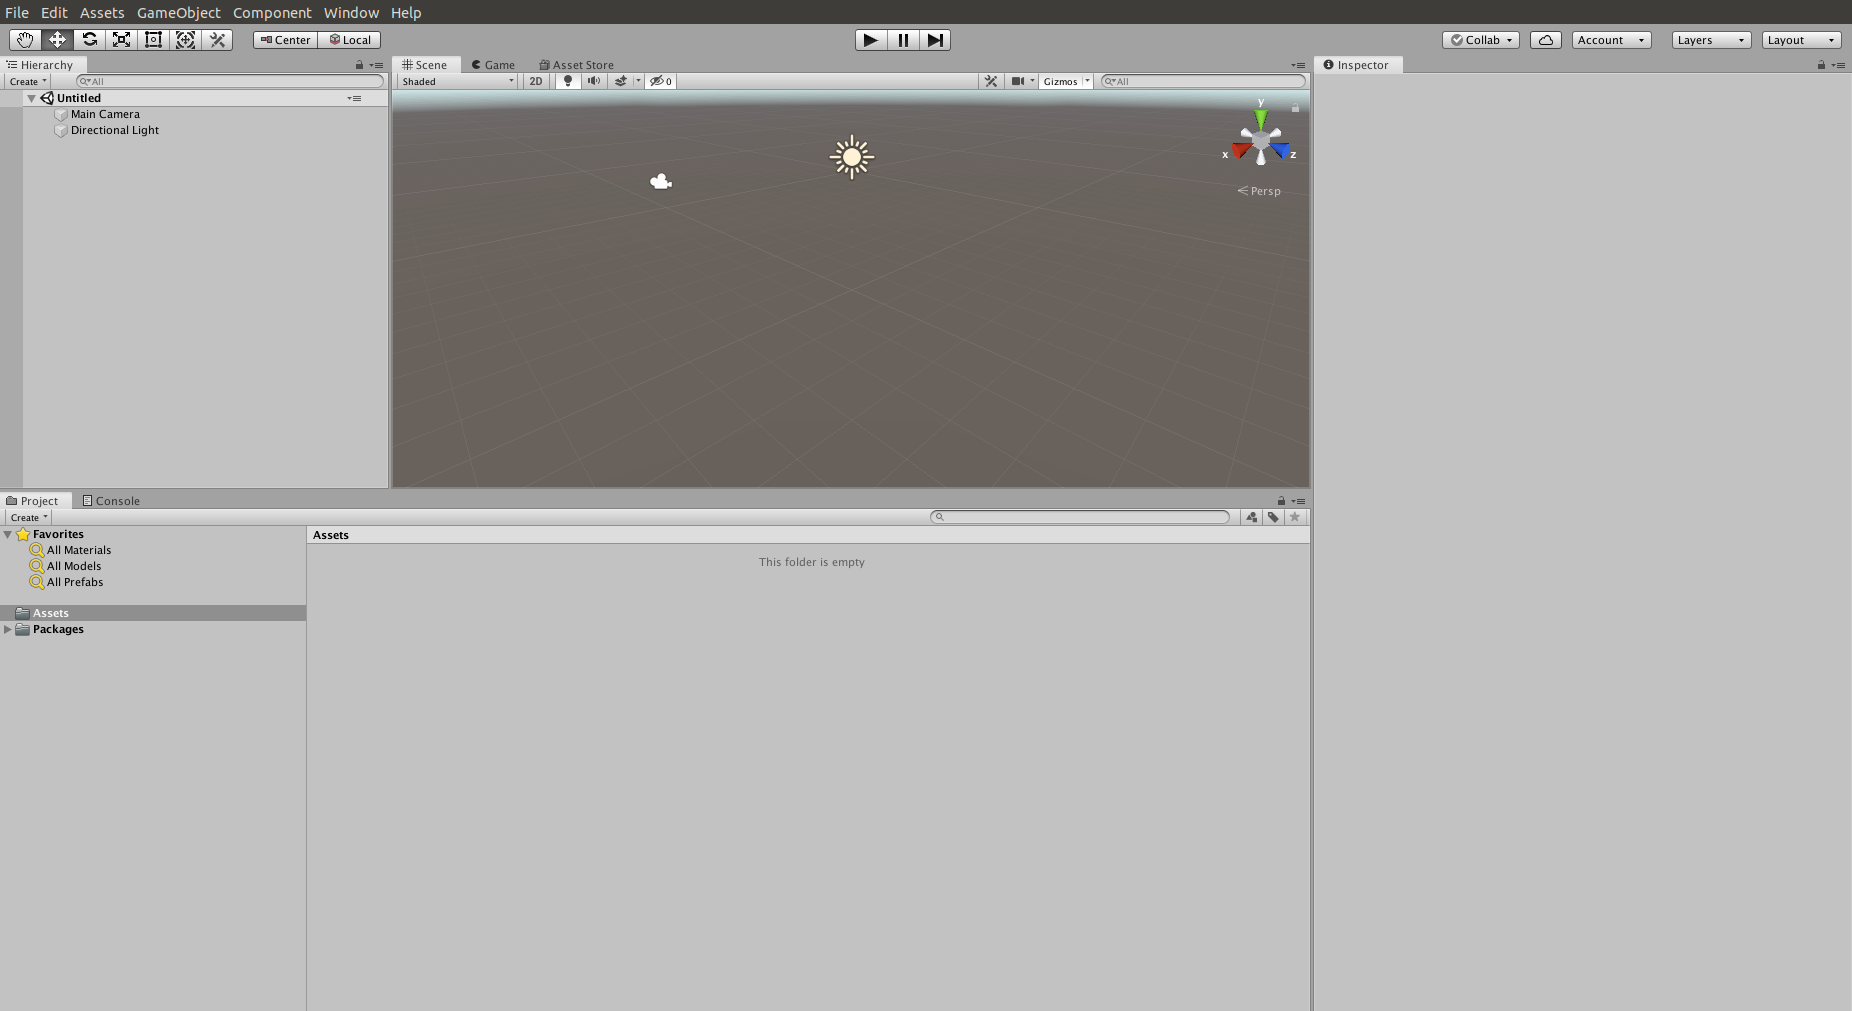
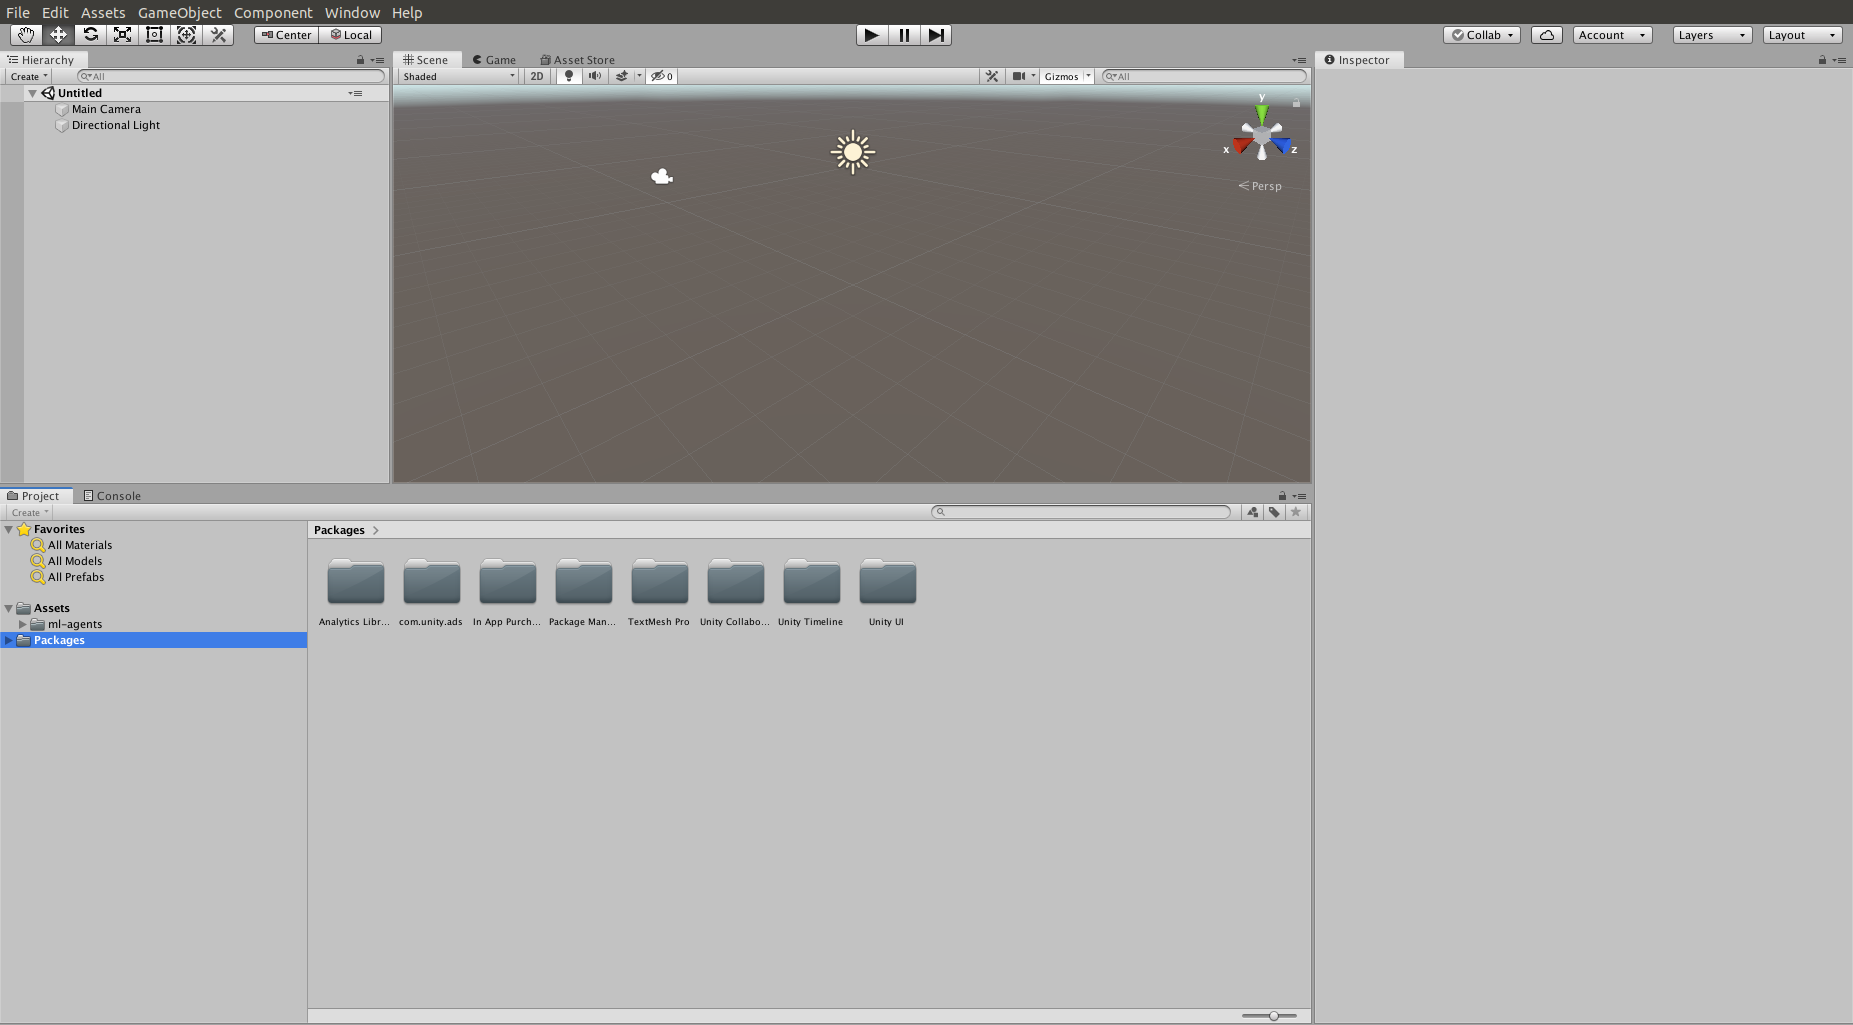
1) Open up Unity
Now you have successfully setup your environments you are ready to begin using the ml-agents toolkit with unity.
Before training your own model its handy to examine the pre-fabs and demos that are available within the unity plugins manager within your unity program drag the complete Ml-agents folder into your assets folder within your project console this should import all the assets you need.
Navigate to ML-agents in your Project Assets Window >
2) Import the ML-Agents Tutorials
For this tutorial, we are going to use the crawler example so navigate to
- ML-agents > examples > Crawler > Scenes> and launch the ‘Crawler Dynamic Scene’
this is going to generate a scene with multiple crawlers, you can go ahead and delete the 10 other crawlers for this tutorial as it will load faster
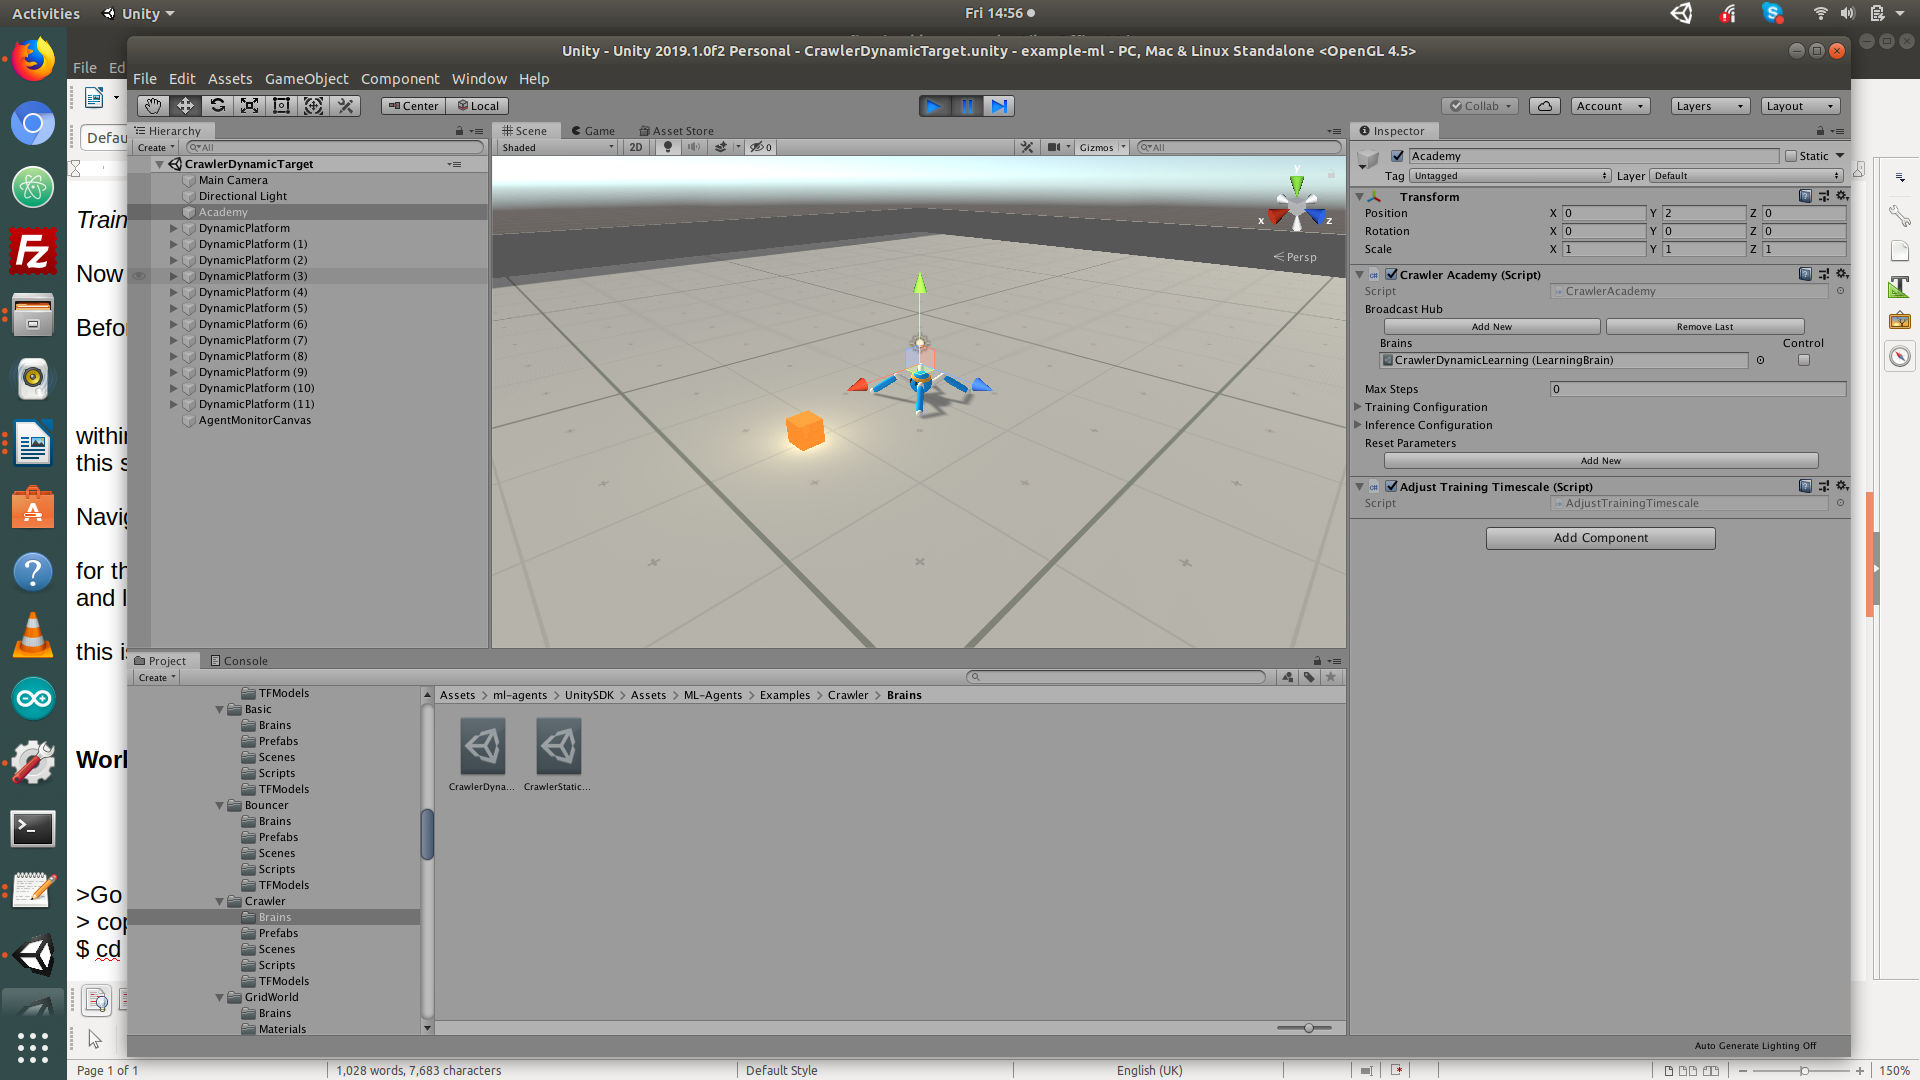
3) Give your spider a brain
In ML-agents > examples > Crawler > Brains
select CrawlerDynamicLearning.asset and drag into your object panel (on the left)
4) Give your brain a pre-trained model
This should now be visible and listed as ‘Academy’ layer, with the academy layer selected you need to give it a brain!
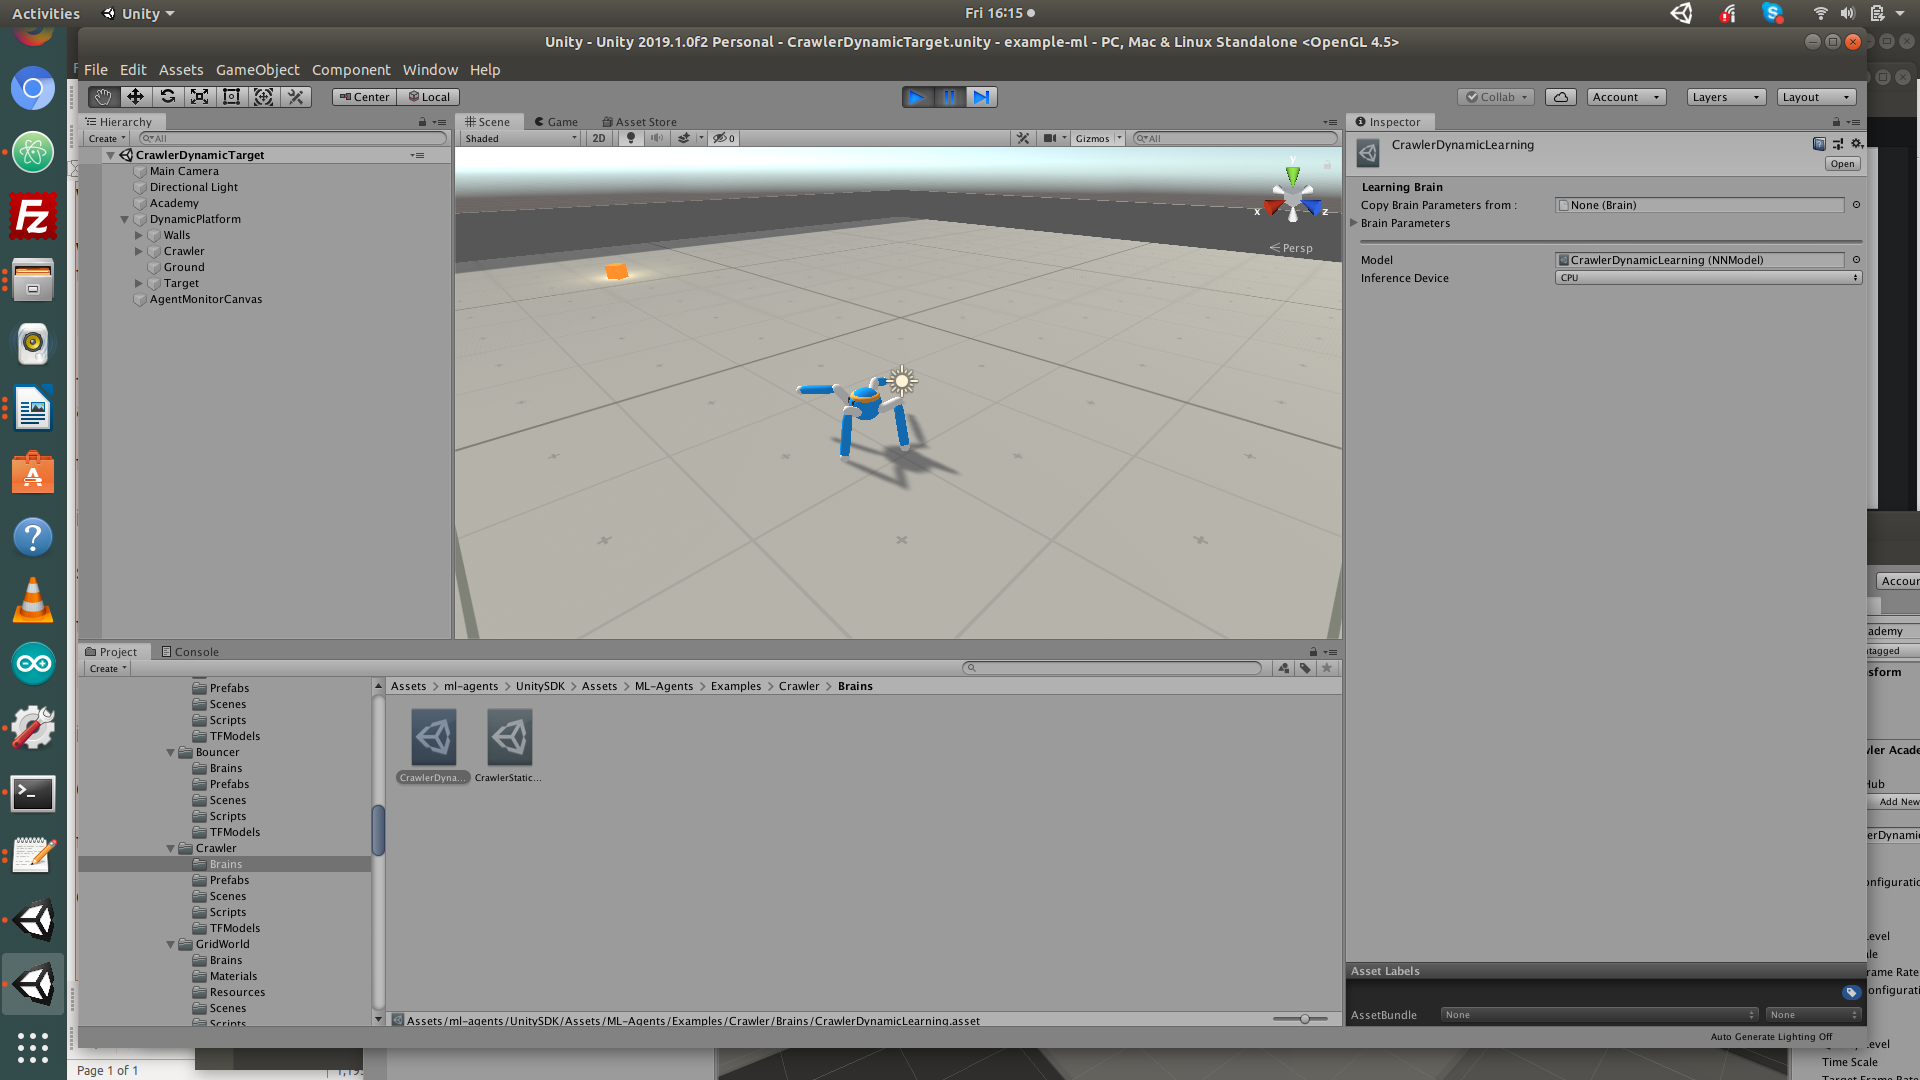
Double click on the brain , this will bring up a new inspector window
in ML-agents > examples > Crawler > TFModels
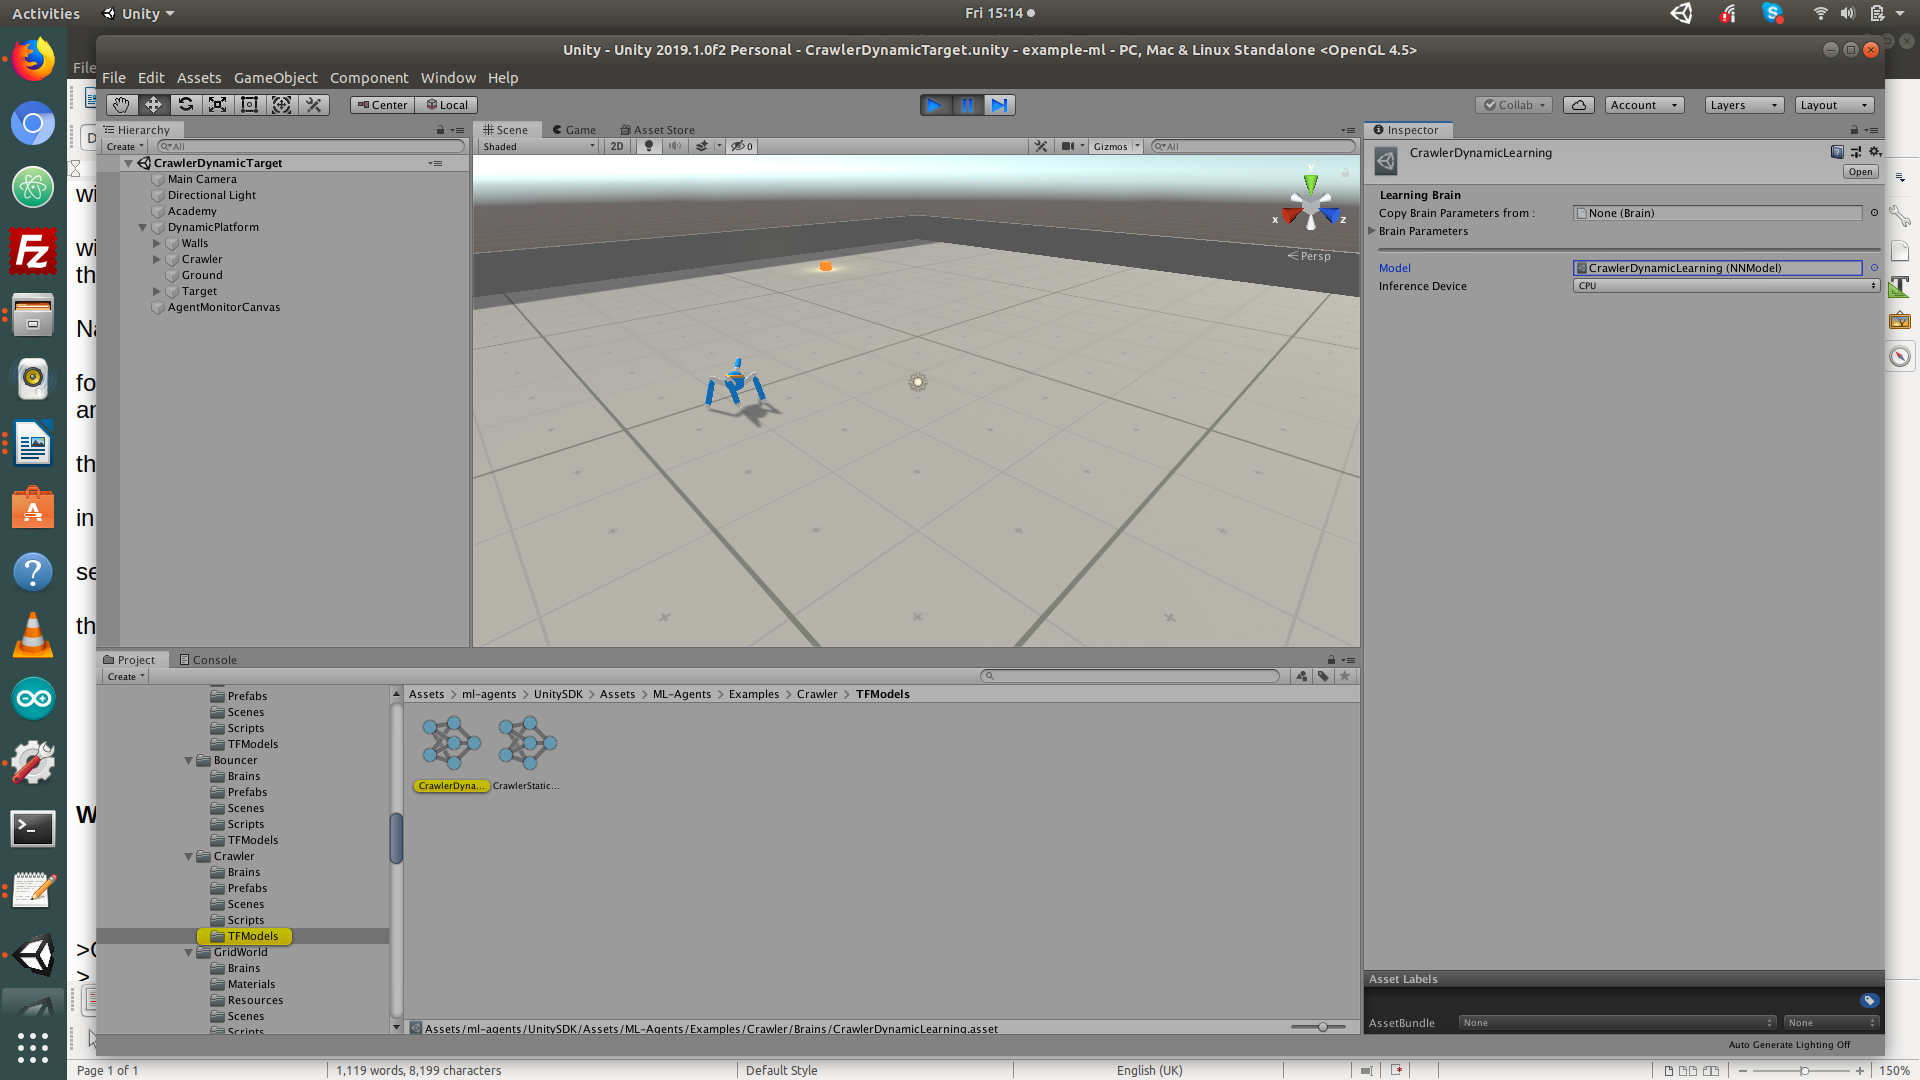
drag CrawlerDynamicLearning onto the brain
this is a pretrained neural network model that has been trained to repeatedly follow the target (the yellow / orange box)
once you have an academy layer, with a brain, with a pre-trained neural network in it you can hit the play button and watch the crawler in action.
Going Further
Now you have figured out how to use the pre-trained models, you can then begin customising the TensorFlow models and reward functions to create your own models.
Working within your virtual environment in your terminal window
- Go to utlities open up ‘terminal’
- Copy into terminal or type
$ cd your/working/Directory/unity/ml-agents-master/ - From here you should activate your working environment
copy into terminal or type
$ conda activate tensor - Test that your ml-agents is installed by typing
$ mlagents-learn
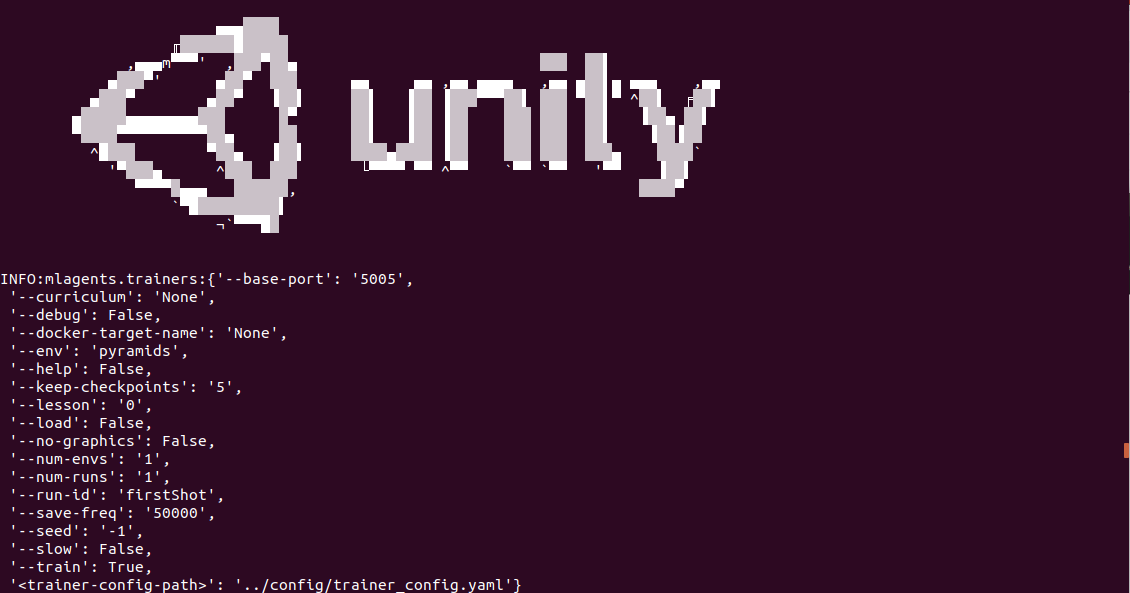
To train your own own model use this line below and hit the ‘play’ button when it asks….
$ mlagents-learn /Users/hazelbrill/Documents/unity/ml-agents-master/config/trainer_config.yaml --run-id=firstRun --train
From here you should be able to see the training process in the unity editor window. To terminate the training press Ctrl C in the terminal window to stop the process. the model should be saved and available to you within the Unity editor. You can edit and change the training settings with the trainer_config.yaml
After training
You can press Ctrl+C to stop the training, and your trained model will be at models/<run-identifier>/<brain_name>.nn where <brain_name> is the name of the Brain corresponding to the model. (Note: There is a known bug on Windows that causes the saving of the model to fail when you early terminate the training, it’s recommended to wait until Step has reached the max_steps parameter you set in trainer_config.yaml.) This file corresponds to your model’s latest checkpoint. You can now embed this trained model into your Learning Brain by following the steps below, which is similar to the steps described above.
helpful resources
- https://github.com/Unity-Technologies/ml-agents/blob/master/docs/Basic-Guide.md
- https://gym.openai.com/
- https://www.youtube.com/watch?v=FXFrwvV60N4&list=PLX2vGYjWbI0R08eWQkO7nQkGiicHAX7IX&index=3
- Unity ML tutorial - https://www.youtube.com/watch?v=x2RBxmooh8w
- Another series - https://www.youtube.com/watch?v=uiutRBXfEbg&list=PLX2vGYjWbI0R08eWQkO7nQkGiicHAX7IX&index=2
- https://www.youtube.com/watch?v=x2RBxmooh8w
- https://blogs.unity3d.com/2018/12/17/ml-agents-toolkit-v0-6-improved-usability-of-brains-and-imitation-learning/?_ga=2.221967515.2097880843.1563531955-2130937146.1561465028
- https://blogs.unity3d.com/2017/12/11/using-machine-learning-agents-in-a-real-game-a-beginners-guide/