
Sensor IoT Workshop - Temperature
Temperature
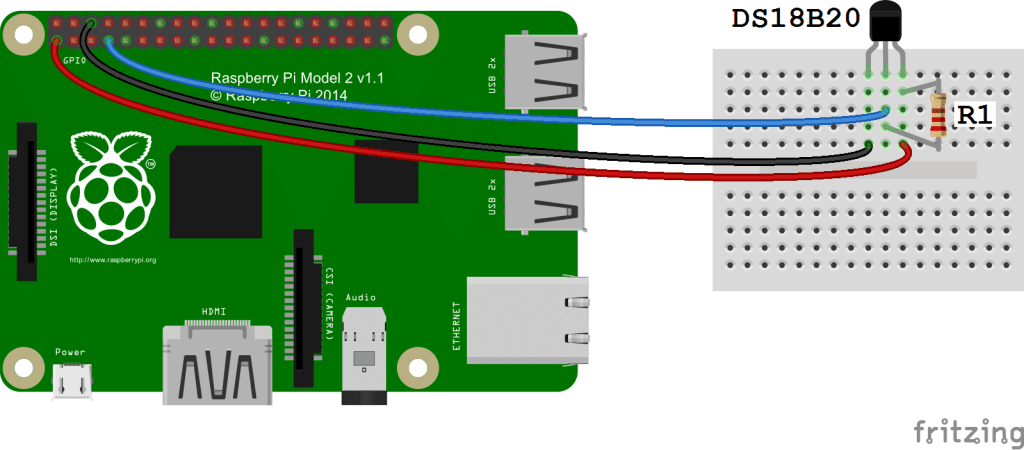
Minimal Set-up
-
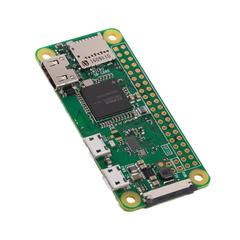
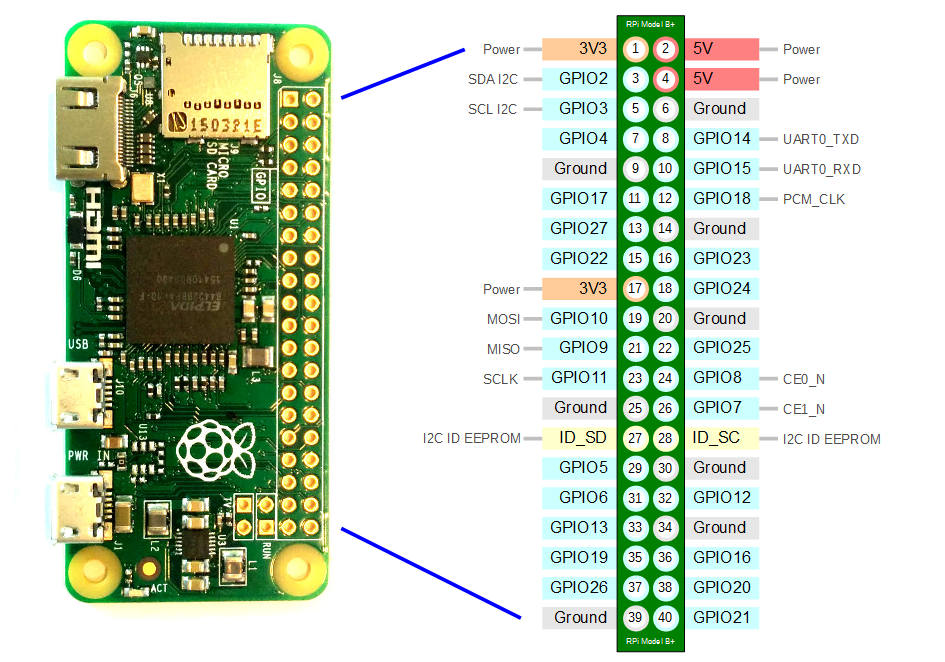
RPI plugged into a Power Supply
-
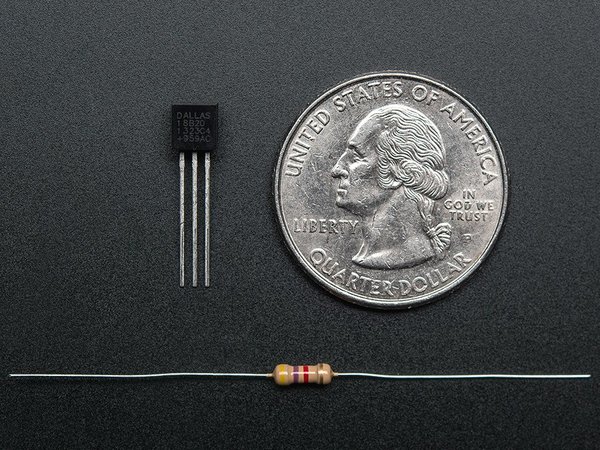
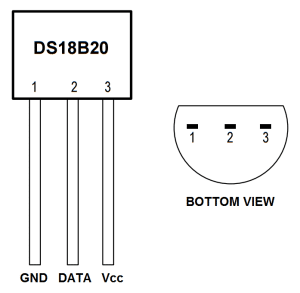
DS18B20 Temperature sensor
-
4.7K Ohm or 10K Ohm resistor
These 1-wire digital temperature sensors are fairly precise (±0.5°C over much of the range) and can give up to 12 bits of precision from the onboard digital-to-analog converter. They work great with any microcontroller using a single digital pin, and you can even connect multiple ones to the same pin, each one has a unique 64-bit ID burned in at the factory to differentiate them. Usable with 3.0-5.0V systems.
The only downside is they use the Dallas 1-Wire protocol, which is somewhat complex, and requires a bunch of code to parse out the communication. There’s a great Arduino library for 1-Wire, but some microcontrollers do not have support for 1-Wire so be sure to check!
Enable the One-Wire Interface
We’ll need to enable the One-Wire interface before the Pi can receive data from the sensor. Once you’ve connected the DS18B20, power up your Pi and log in, then follow these steps to enable the One-Wire interface:
- At the command prompt, enter: sudo nano /boot/config.txt, then add this to the bottom of the file:
dtoverlay=w1–gpio
-
Exit Nano, and reboot the Pi (
sudo reboot) -
Log in to the Pi again, and at the command prompt enter
sudo modprobe w1–gpio -
Then enter
sudo modprobe w1-therm -
Change directories to the /sys/bus/w1/devices directory by entering:
cd /sys/bus/w1/devices -
Now enter ls to list the devices:
-
You should (hopefully) see the Dallas thermostat which starts with number 10 e.g. 10-0008032d8f63
-
CD into the driver folder and type
cat w1_slave -
This should print the temperature e.g.
31 00 4b 46 ff ff 05 10 1c : crc=1c YES
31 00 4b 46 ff ff 05 10 1c t=24437
Write the Code
This python script will read from GPIO pin 4 and print the input to the Terminal Copy the code below and save the file on your rpi ‘temp-sensor.py’
#!/usr/local/bin/python

import os
import glob
import time

os.system('modprobe w1-gpio')
os.system('modprobe w1-therm')

base_dir = '/sys/bus/w1/devices/'
device_folder = glob.glob(base_dir + '10*')[0]
device_file = device_folder + '/w1_slave'

def read_temp_raw():
    f = open(device_file, 'r')
    lines = f.readlines()
    f.close()
    return lines

def read_temp():
    lines = read_temp_raw()
    while lines[0].strip()[-3:] != 'YES':
        time.sleep(0.2)
        lines = read_temp_raw()
    equals_pos = lines[1].find('t=')
    if equals_pos != -1:
        temp_string = lines[1][equals_pos+2:]
        temp_c = float(temp_string) / 1000.0
        temp_f = temp_c * 9.0 / 5.0 + 32.0
        return temp_c, temp_f

while True:
        print(read_temp())
        time.sleep(1)
Once we are logged into the Raspberry Pi using SSH we can run the script with the command
$ sudo python temp-sensor.py
refs Guide
